Brookville Ohio

Hahahahaha! We are in the Brookville Tall Timbers KOA near I70 and west of I75 (near Dayton). We rolled in just before 7 pm. Another day over fifty miles. We are gonna stay here at least a few days. This is one of our favorite places on earth.
It’s been a while since we had good wi fi, so I will be posting a couple days pictures soon. First we need our frothy happy hour and a shower.
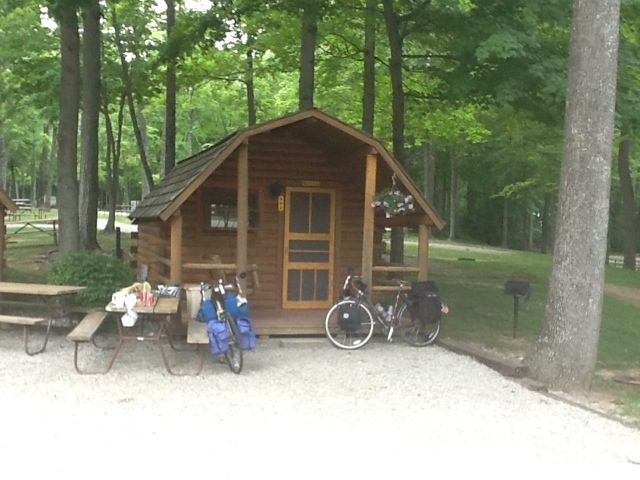
For now, here’s our cabin…

20120531-191855.jpg
Oh yeah… Our total mileage so far is 468.57 miles.
Seems like its gonna rain…

Posted in Blog | Tagged | Comments Off on Brookville Ohio

Frontier Campground, Silver Springs

Wow! Our best rid ever! 58 miles!
We were thinking of heading to Xenia, but that was gonna be about 65 miles, I’m guessing.
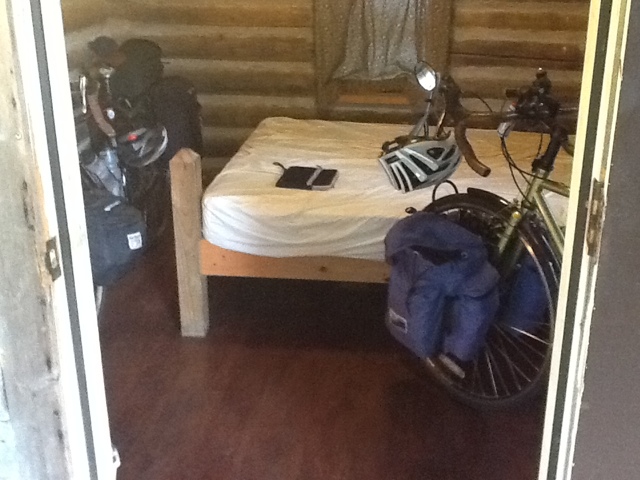
We have a little cabin at the Frontier Campground in Silver Springs. The cabin is roughly 10 by 12. There’s a small bed, a nightstand and enough room for our two bikes… Barely.

20120530-203817.jpg
The picture is thru the front door.
Carol’s in the shower and I’m next. We can’t hit the wi fi from our cabin, we have to go down to the activities building, so I’m not sure if I will post any more about today until tomorrow. Did that make sense?

Posted in Blog | Tagged | Comments Off on Frontier Campground, Silver Springs

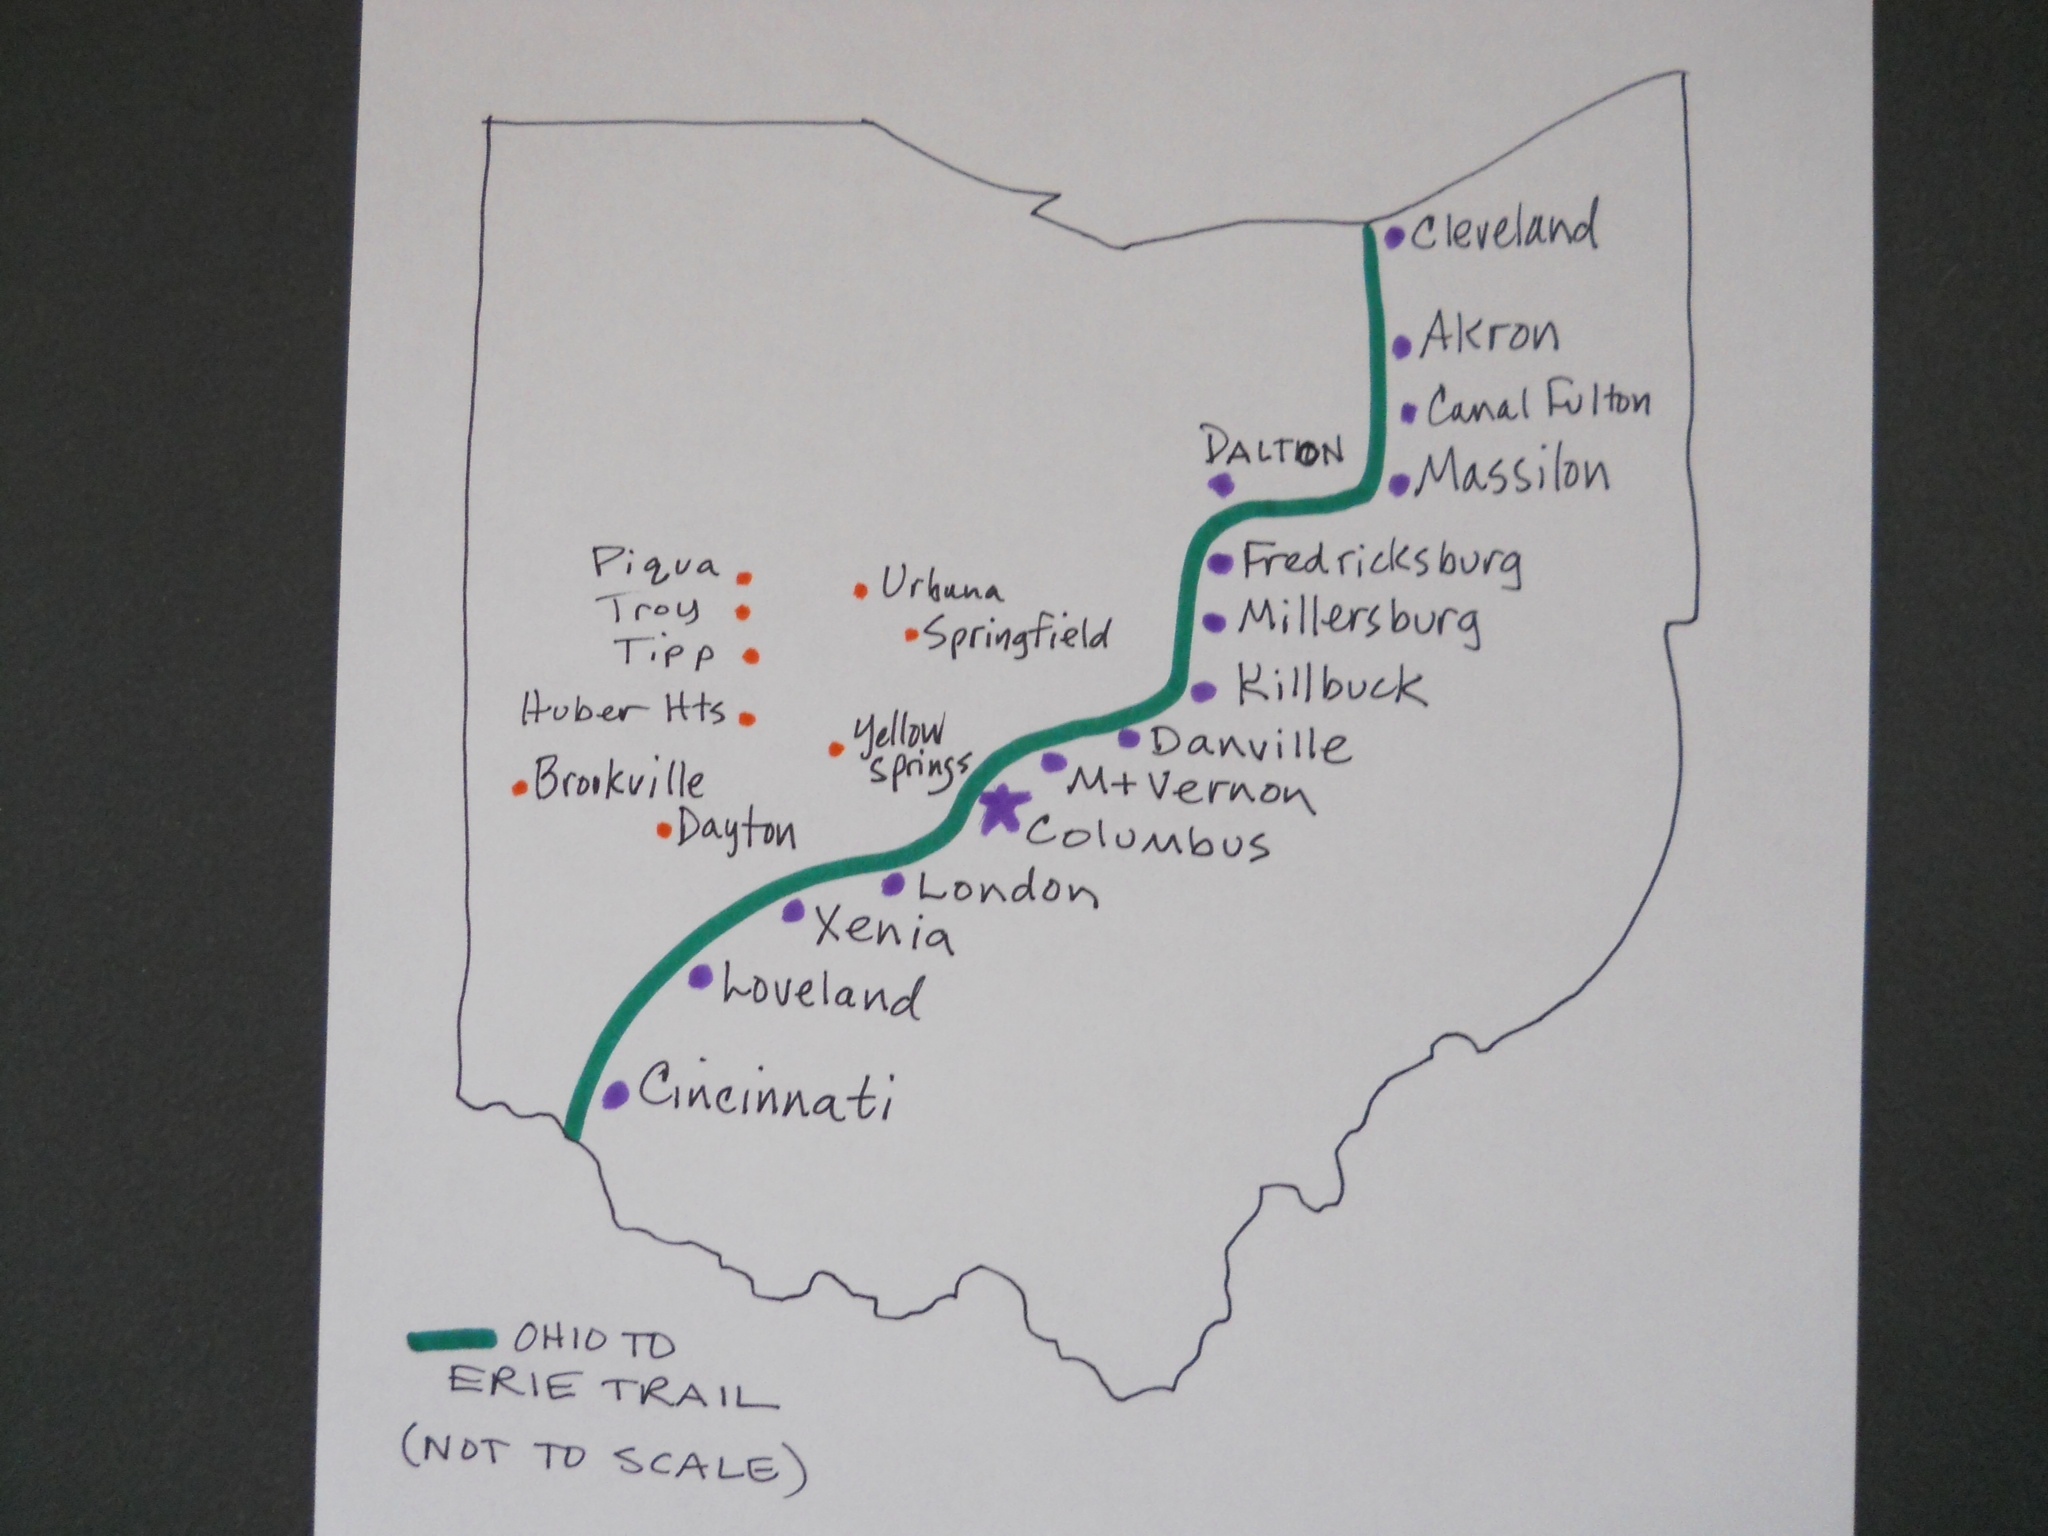
Trail Map: Ohio to Erie Trail

Click here for a hand drawn map of our route, including all major stops along the way…. Cleveland, Akron, Massilon, Millersburg, Mt. Vernon, Columbus, London, Xenia, Cincinnati… And our side trips through Dayton, Brookville, Tipp, Troy, Piua and Urbana… And maybe even a small part of Indiana!

EDIT: It cracks me up that this is the #1 image on Google for The Ohio To Erie Trail. I drew this years ago with crayon and markers while sitting at my sister’s kitchen table. I did design a real map, using a computer… get it here.

20120529-123354.jpg

Posted in Trail Maps | Tagged | 1 Comment

Ohio to ErieTrail Description

Many people have been asking me about The Ohio to Erie Trail so I will provide a little background and some details. The trail was founded by Ed Honton in 1991. The trail spans the state of Ohio from Cincinnati to Cleveland following lands formerly owned by railroads and canals that have been converted to bicycle trails. The Ohio to Erie Trail is a route that utilizes existing trails and the organization is working to close the gaps to achieve the dream of a cross state off road route for non-motorized transportation. The route is nearly complete and new sections of trail are scheduled to be paved this summer and next year. My estimate is the route is 85% on trail and 15% road.

Traveling south from Cleveland the trail follows the Ohio and Erie Canal Towpath Trail through the Cuyahoga Valley National Park and continues through Akron, Barberton, Canal Fulton and Massilon. Here the towpath continues south but the Ohio to Erie Trail turns west to follow the Sippo Vally Trail which takes you to Dalton. Here you switch to a road route that is rolling hills through Amish country. It is a beautiful route with fabulous views but was very challenging, especially for us as it was over 90 degrees and windy. It took us two and one half hours to reach Fredicksburg which is the northern trail head for the Holmes County Trail which travels through Holmesville, Millersburg, and ends at Killbuck. (see link below) Here you go back on the road and are faced with some seriously steep hills following County Road 6 and US Route 62. This section is tough but luckily it was cool and cloudy the day we did it. This section is on the schedule to be paved trail which will eliminate the steep climbs. The off road route route picks up in Brinkhaven at the Bridge of Dreams and follows the Mohican Valley Trail which is dirt. I hope they pave this someday. As an alternate to the dirt trail stay on US 62 to Danville where you pick up the Kokosing Gap Trail which is paved and perfect with lots to see and takes you through Gambier and ends in Mt Vernon. Out of Mt Vernon you follow Route 3 /36 for about 5 miles until you reach the paved portions of the Heart of Ohio Trail which is scenic and smooth and takes you into Centerburg. (note: as of July 2013, there are now two sections of paved Trail, please send an e-mail to request more information for the trail access from Columbus Road.) In Centerburg you go back on the road again but now it is all flat and smooth and quiet back country roads that take you to Sunbury where you pick up the old route 3 bike trail that takes you into Columbus. Here it is rider’s choice to follow the Alum Creek Trail through the park or the bikeway through the quaint town of Westerville. Then you are back on the road to follow to Shrock Road past the Budweiser plant to pick up the Olentangy River Trail south through Columbus. This section will eventually be re-routed to follow Alum Creek. At the south end of Columbus you leave the trail system and head west on Broad Street, Rt 40, to get to Galloway Road which takes you south to the Battelle Darby Creek Metroparks. One day the Rt 40 section will be replaced by paved trail. The paved Camp Chase Trail starts at Georgesville and continues through Lily Chapel and into London on Roberts Pass. The route proceeds southwest on the Prairie Grass Trail to South Charelston, Cedarville and finally into Xenia. There is a trail head in Xenia that provides access to many bike trails going in all directions as it is the old railroad hub. Here the Ohio to Erie Trail picks up the Little Miami Scenic Trail which is my favorite part—shady and smooth and quiet. The trail continues south through quaint towns and scenic views through Corwin, Morrow, Loveland, Milford and finally to the trail’s end in Newtown. One day the trail will continue into downtown Cincinnati. Guy and I headed west on Wooster Pike to Marriemont where we picked up Erie Street to climb out of the river valley into Hyde Park, our destination. (In 2013 we rode all the way to downtown to tire dip in the Ohio River. Details are published in The IGotaBike Ohio To Erie Trail Guide.)

It should be noted that when we departed Cleveland we chose to use The Bike and Hike Trail which parallels the Ohio and Erie Towpath Trail up on the ridge top. This is a paved trail that follows the old electric train route that once took passengers to and from Akron to Cleveland. There are new updates to the Bike and Hike Trail that provide switchbacks to avoid the dangerous and steep road near the Brandywine Falls and there is a new tunnel to go under I-77 and a new bridge to go over I-80. Using this trail we had access to hotels in Stow and then we went down the big hill past Blossom Music Center to pick up the official Ohio to Erie Trail as it follows the Ohio and Erie Towpath Trail which is crushed limestone. This is our home turf and we have ridden the towpath many many times. If you only have one chance to get through this area use the towpath as it passes through Bald Eagle nesting sites, beaver dams, working locks, a canal boat museum and blue herons and hawks are everywhere. It is spectacular. Another option in this area is to utilize the Cuyahoga Scenic Valley Railroad. With a bicycle the fair for you and your bike is only $3, seasonal, Wed-Sun.

When we leave Cincinnati we will retrace our “steps” and head north on the Little Miami Scenic Trail to Xenia. Here we will leave the Ohio to Erie Trail and head west to enjoy the fabulous trails of the Miami Valley. We will pick up the Creekside Trail in Xenia which will take us west in to Dayton. Our destination is the Tall Timbers KOA in Brookville, Ohio. We are still debating our route. The Wolf Creek Trail is the most direct way but we have had trouble in this area in the past with lots of glass and flat tires. The alternative is to go north out of Dayton on the Great Miami River Trail and cut across Route 40. (see links below)

After a few days at Tall Timbers we will work our way back to The Ohio to Erie Trail, to get back to Cleveland. We are considering a few alternate ideas to avoid some tough spots. You will need to stay tuned to see where we go and how we get there. We need to be back in Cleveland 2 weeks from today and would like to be in Millersburg for the annual Holmes County Trail Auction on June 9.

See my hand drawn map. I promise the “real” map will be better. All this is from memory—corrections and comments are welcome.

ADDITION: Click here to see new entry and map detailing the road route between Killbuck and to Brinkhaven connecting The Holmes County Trail to The Mohican Valley Trail.

ADDITION: We did use the The Wolf Creek Trail. We do NOT recommend this route. Click here for a description.

ADDITION: Click here to see work around with map for avoiding the east end of the Wolf Creek Trail.


Posted in Trail Maps | 1 Comment

Contact

Do you have any questions or comments about any of the content on our site? We would love to hear from you! Is there a product or a trail or are you new to touring and have a question we haven’t covered? Hit us up with a quick email.

You can contact us at: CarolandGuy@IGotABike.com

Follow us on Twitter twitter

Check us out on Facebook! facebook

For advertising, please email carolandguy@IGotABike.com

Posted in Contact | 3 Comments

Links

The Broadway Cyclery Mike runs the most awesome LBS in the Cleveland area. Specializes in touring- how cool is that?! It’s where Carol bought her Jamis and I had my 520 tweaked,

More good friends of ours, Century Cycles. These guys have helped us out of many a jam. We also bought our road bikes from them too. We usually hit up the gang in Rocky River.

The Ohio to Erie Trail Organization.

Friends of Madison County and friends of ours!

The Bike and Hike Trail in Cuyahoga County.

The Little Miami Scenic Trail

Terry Bicycles Fantastic Woman’s online bicycle shop. Bikes and apparel. Carol got great stuff she couldn’t find anywhere else, and really awesome service over the phone too!

Good maps here and lots of info here. Be aware, some info may be out of date: www.ohiogreenways.net

Cool list of bike blogs found here
BikeBlogs.com Network

Posted in Links | Comments Off on Links

Our Gear

Here, I’m going to try to list the gear we are carrying and using, or not using, for that matter. I’ll start with my gear first. Oh, and here’s a quick bicycle touring and camping gear checklist based on the gear we carry: Bicycle Camping Checklist

See the article about how to pack panniers here.
Guy:
Bike: used 2005 Trek 520. I bought it off a young man on Craigslist and drove to Ann Arbor to get it. I had Mike at The Broadway Cyclery replace the chain, cassette, and bar tape. I also got a Brooks saddle, but there was not enough time to break it in before leaving on the tour.
The bike is still wearing its original multi-compound Bontrager tires. I’d love to review these soon!
The bike is steel frame, bar end shift, stock gearing and wheel set.
Saddle: I bought a new Velo saddle for the tour. Got it on Ebay for less than $20 shipped. I’m guessing it’s a discontinued item. Not sure what the model is, but they still have more HERE. It worked. I sat on it, it held my butt.
(Since we’ve returned home, I have installed my Brooks Classic Professional. They make so many models it gets so confusing. It’s Honey colored. I think it’s THIS. I paid around $120 for it. Here are my initial observations. I will eventually give it a thorough review when it is appropriately broken in.)
Brooks Saddle: The first thing I noticed was that it was extremely hard. Stiff. Very much reminded me of on of my favorite saddles ever, a super cheap hard plastic injection molded job with zero padding- just plain hard plastic. I loved that saddle (hopefully it’s still in the attic somewhere!).
Anyway, the very next thing I noticed (and very quickly) was that the Brooks is SLIPPERY! Zing! I was all over that thing in my riding shorts.
(edit: I now have several hundred miles 3-400 on my Brooks and it’s a changed saddle. No longer slippery. Sometimes it’s actually a bit sticky. I’m growing to like it, but it’s still not even close to being “broken in.” Also, I have yet to put anything on it, such as Proofide)
My next observation is that it actually feels more comfortable just wearing a pair of regular gym shorts, rather than my padded bicycle shorts. Can this actually be?! Has anyone else experienced this, or am I crazy?
I started with it in the same position as the Velo, but had to move it a little farther back, and I had a little too much weight on my hands. I had the Velo pretty dialed in, just before I took it off. After I moved it back, it was better, but I still had too much weight on my hands. Today I tipped the nose up just one tooth on my Ritchie seat post and things improved dramatically.
That’s where I am at so far with the Brooks. My next step is to get some Proofide and see if that moves things along…
Racks: front rack is a new Jandd low rider (reviewed). The rear is the stock rack that came with the Trek, a Trek Interchange. It has slightly oversized tubing compared to most racks, like say, the Jandds.
Bags: front bags are two zipped pockets. Vintage. Bought on EBay. Can’t remember who makes them… I’ll check later. The rear bags I bought for last year’s tour. They are Axiom’s Seymour Transit Series (reviewed). All bags are cordura.
Oh, I’m also sporting a trunk. It’s made by Ascent and is a good size. I use it as the catch-all: my hat, power bars, baby powder, tools and inner tubes, etc.
Lights: Headlight bought off EBay from a Chinese company names Anqi(?). The magic LED components are made by a company named Cree. The taillight is a Planet Bike Superflash Stealth. These need to be reviewed also.
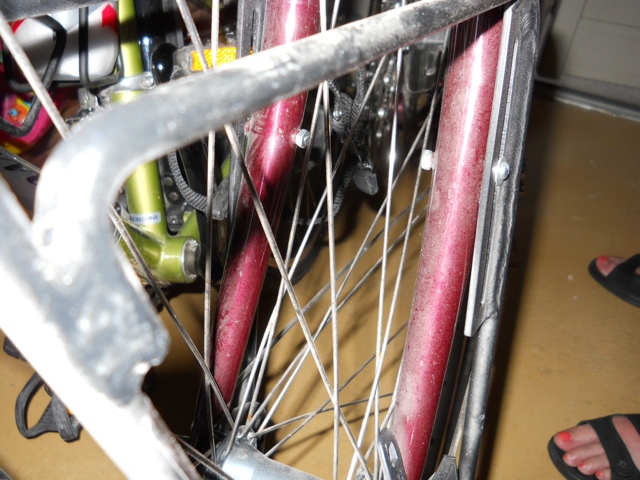
Fenders: Planet Bike. I believe mine are the Hybrids… A little oversized for my current tires, but that leaves me with excellent coverage and room for larger tires when I need them. These turned out to be very durable. On our tour, when we needed the ride to Baer Wheels in Columbus my front fender had gotten bent completely in half! It was when we took off the wheels to load the bikes into the car. I merely picked up the front forks and it sprang back into shape, no worse for the wear. Not a crease nor a crack. I couldn’t believe it. Had to fiddle with it a bit to get it to fit the wheel correctly again, but that was no big deal at all. My Planet Bike Fender Review
Pedals: the bike came with platforms and cages. I very briefly considered using them, but I soon couldn’t take it, and installed the Shimano SPD 250’s off my old Raleigh. The 250’s seem to be the same pedal as the 520. I love these pedals!
Computer: no name Chinese. eBay. Speed, miles, daily miles, time, elapsed time, maybe something else. It was cheap, and so am I :-)
Camera: I keep a Nikon Coolpix 14Mp strapped to my stem in a small Velcro pouch. I have near instant access to it, even while riding.
Helmet: made by Bell. Don’t remember the model, but it’s way light and has way more air flow than the one I was using from 1984 8-0
Shoes old Shimano road shoes from about five years ago. Just has three Velcro closure straps. I like that.
Gloves: currently Bontrager. Old fashion crochet style with lots of padding. My personal favorite style. Just got them in Mt. Vernon. We’ll see how they hold up. Link
Pump: I carry a frame mounted road pump. I believe it’s this: Pump
We’ve had it for years and it’s been very reliable. I review it HERE.

Carolyn:
Bike: NOS 2010 Jamis Aurora. All steel, STI shifting
Racks: front rack is a new Jandd low rider. The rear is an old Blackburn, iirc
Bags: front and rear are vintage, cordura. Fronts are multi pocket Cycle Pro California Series from EBay. Rears are huge, multi pocket Eastpack (remember them?) $5 for the pair at a yard sale some years ago!
Lights: Headlight bought off EBay from a Chinese company names Anqi(?). The magic LED components are made by a company named Cree. The taillight is a Planet Bike Superflash Stealth.
Fenders: Planet Bike. Carol got the 700c appropriate size. Discarded the original plat aluminum stock Jamis’.
Pedals: stock platform with cages
Computer: no name Chinese. eBay. Speed, miles, daily miles, time, elapsed time, etc.

Mutual: this is stuff in the bags that we share, like camping gear. If I can, I’ll post pictures. I have a feeling we may be traveling a little on the heavy side, but we enjoy our comforts and we are packed to camp, stay in motels and with friends and even present well in public.
Our front bags: my fronts hold our sleeping bags and wind jackets, while Carol’s have the Therma Rests and rain ponchos.
My rear bags: in my left rear I have my clothes, walking shoes,U-Lock, toilet kit and Jim Beam traveler in the rear pocket. Right rear the tent, tarp, first aid bag (voodoo bag) a transistor radio (for emergencies) and a book.
iPad: we bought a new iPad 2 for this trip. We are using it for the internets, our email and to blog from. It’s a really cool and versatile piece. Not quite a computer and not a phone, it land somewhere in between. So far it seems to be the perfect tool.
Carol’s Rear Bags: Her clothes, maps, toilet kit, small stove in a pot, small bowl, utensils, cups, and fuel botlle.
Clothes: We each brought what we thought we really needed. We each have two pair of cycle shorts, one pair of long tights, about three jerseys each, and a lot of bike socks. In addition, we have street clothes; shorts, long pants, swimming suits, a dress shirt or dress, and some tee shirts. We each have a pair of regular old flip flops (at least for showering, if nothing else), and a pair of walking shoes. Carol has her favorite sandals, and I bought a cheap and light pair of slip ons, like deck shoes.
Posted in Our Gear | Tagged | 4 Comments

Axiom Seymour Transit Series Panniers Review

Axiom Seymour Transit Series Panniers
Price Paid: $80/pair (iirc)
Grade: A-
Link: Axiom Seymour’s at Amazon

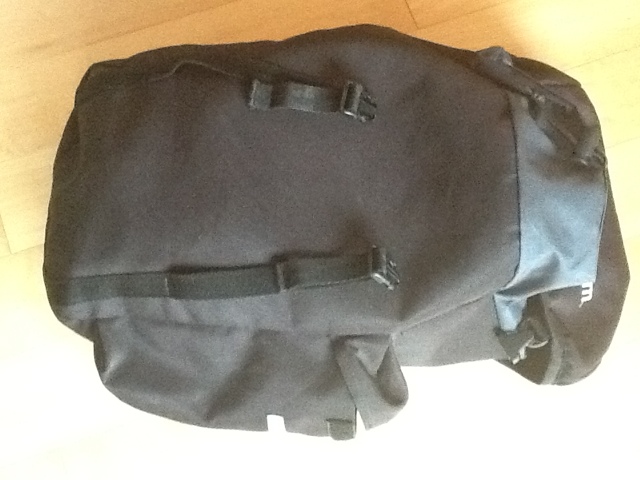
I’ve had my Axiom bags for at least the last two tours and they seem to be holding up fine. It appears Axiom is no longer making these and that’s a shame. Good bang for the buck. as I said, I’ve used them for at least the past two seasons for long touring, daily commuting and grocery getting. They have held up just fine. I like the top loading single compartment. There is a drawstring at the top which really helps to contain and stabilize oversized loads. The top cover is elastisized and really creates a nice neat fit when closed. They are not water proof, but as an old backpacker, I’m used to keeping all my gear in ziplock and trash bags anyway.
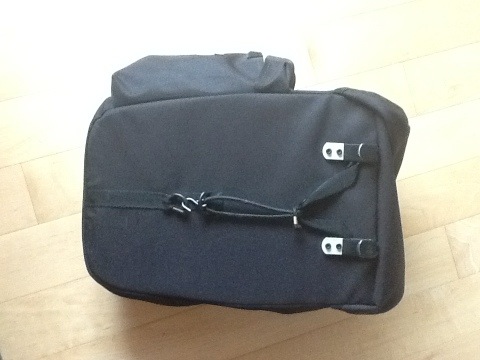
The attachment system is the simple hook on top, bungee cord on the bottom. This setup allows the bags to flop around at the bottom over bumps and stuff. I wish I could remedy that, but it’s just part of the system and why they are so affordable. The top hooks are rubberized… Nice touch there. Helps to keep the bag gripping the rack better and leave no scratches.
There Is a small outside rear pocket. It’s convenient for small stuff, I guess, but for me it’s really more difficult to use than anything. It opens in a weird envelope fashion (see the pic below) where the top cover gets in the way of getting things in and out. It’s where I usually carry a travel size fifth of Jim Beam, and even then, the top doesn’t close completely. A slightly larger pocket or more of a plain flap cover or even just a slightly larger main compartment without an outside pocket would have been better.
These bags make great rear bags and would be pretty dang big, but do-able, on the front.
A minus. Good bang for the buck, outside pocket is lacking, decent enough attachment system.

20120529-095945.jpg

20120529-100646.jpg

Notice in the picture above how I had to tie the bungee to the pannier strap to get it to fit right on my rack. It’s a PITA, but in the end, not really a big deal.

Posted in Gear Reviews | Tagged | 1 Comment

Jandd Low Rider Rack Review

Jandd Low Rider Front Racks
Price paid: $50
Grade: A-
Link: Jandd low riders

We bought these racks new from a dealer on eBay. They were the last essential piece of gear we needed for the trip. We paid $50 a piece for them, which was a fair price.
The racks themselves are one piece, no assembly required. They come with a small hardware kit that included four small hex bolts for your braze ons and four appropriately sized clamps with rubber inserts for forks without braze ons. The racks mount at the bottom to the rear braze on eyelets. The mid fork mounting is along a slot for adjustability. I found I needed to use washers for these mounting points because the hex bolt heads were not large enough to cover the width of the slot. On my Trek 520, I had to find a long enough nut and bolt as my mid fork braze ons aren’t tapped and the hole goes all the way through the fork, outside to inside.
The racks are painted black. The paint has already scrapped off in places where the panniers attach. It’s no big deal, just mentioning it.
So far they seem sturdy enough, with four mounting points and the crossover bar, which seems to add lateral stability.

They also lack pannier stops at the bottom, to keep the bags from sliding backwards. In use, however, my bags stayed in place 99 percent of the time. Carol’s front bags, however, have metal loops at the bottom attachment, not hooks, making attaching them to the bottom of the racks impossible. My work around was to use a tiny automotive hose clamp around the tubing of the rack at the bottom, positioned in such a way so that the clamps adjusting screw was facing down an inward. That’s what the pannier’s hoop was then clipped to. The trouble with that, is that road vibrations would cause the clamp to move, thereby releasing the bottom of the bag. Hitting a big bump cause the entire bag to jump off the rack, posing quite a danger. The on-the-trail fix was to velcro the bag to the racks. I am still working on a more permanent solution.

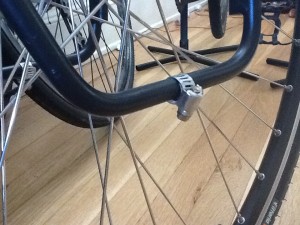
hose clamp for rack

Here is my hose clamp work around for Carol's front racks

All in all, they seem like a good value for the money.
They get an A-.
Below: You can see the washer I used and how I had to run a bolt all the way through and use a nut on my 520.

20120529-091322.jpg

Posted in Gear Reviews | Tagged | 1 Comment

Tuesday 5-29-12

Waiting out the rain at Janet’s. We knew it was coming and it was part of our plan to stay here. It’s supposed to be much cooler after today. It’s been very hot and humid the past few days.
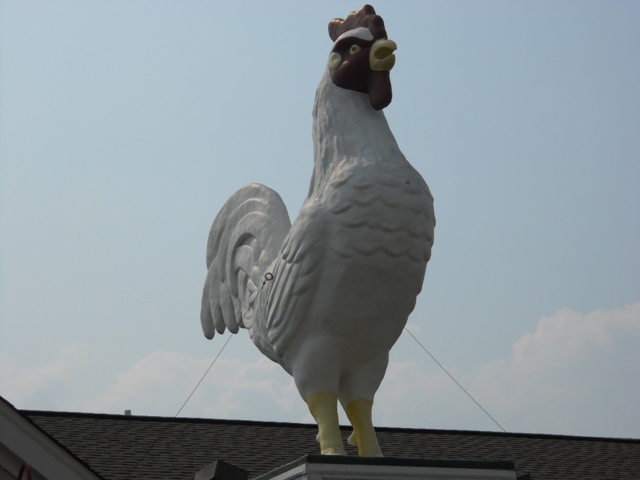
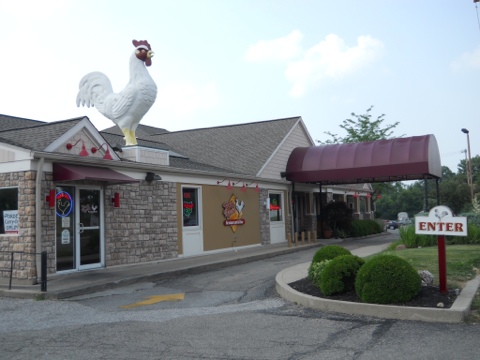
Last night we went to Carol’s mom’s house. We had carry out from Ron’s Roost, home of the Big Ass Chicken… A Cincy favorite!

20120529-092331.jpg
He’s sure an angry looking clucker, ain’t he?

20120529-092506.jpg

Posted in Blog | Tagged | Comments Off on Tuesday 5-29-12