How I Proofided My Leather Brooks Professional Saddle
Saddle Price: $120.oo approx., LBS
Proofide, 25 gram (0.9 oz.) Price: $12.6o incld. shipping, Ebay
OK, so when I bought my Trek 520 used, I saved enough money to get a few extra little goodies. One of those little extras that I bought was a sweet Honey colored Brooks Team Professional Classic Saddle (Model B2000409). Being that it was just about two weeks before we left on our 2012 Ohio to Erie Tour, I opted to leave the Brooks behind, because it wasn’t even close to being broken in. When we got back from the tour, I immediately re-installed the Brooks and have been riding it ever since. For those of you keeping score, that’s been about 500 miles since our return in June.
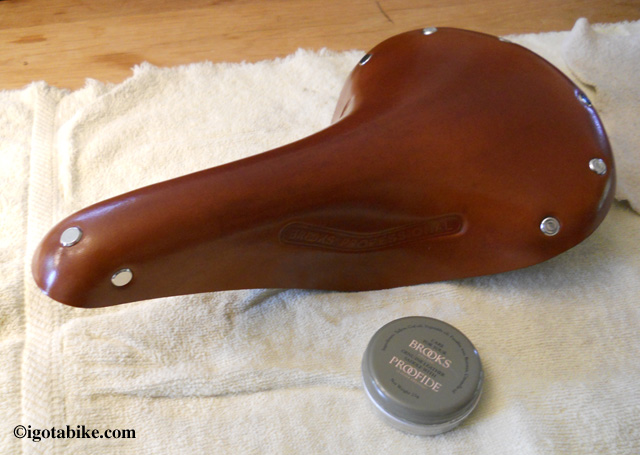
My nearly-new Brooks Professional saddle and small tin of Proofide. This pic is before Proofiding and there is about 3-400 miles on the untreated saddle.
At first the saddle was extremely slippery. It was also rather uncomfortable. I rode with an allen wrench and would stop frequently to move the saddle’s position, searching for the sweet spot. Over time, the saddle became less and less slippery and I eventually found a comfortable position for the saddle. One day I realized that it was no longer uncomfortable. It seemed to be starting to break in.
At this point, I still hadn’t applied anything to the leather, I was just riding on it. Finally, I bought some Brooks Proofide. Today I applied it.
Before Proofiding my Brooks, I removed it from my bike to be able to get to all of the nooks and crannies. I carefully marked the saddle’s position with a Sharpie, first, so I could get it back into the position that took me so long to find.
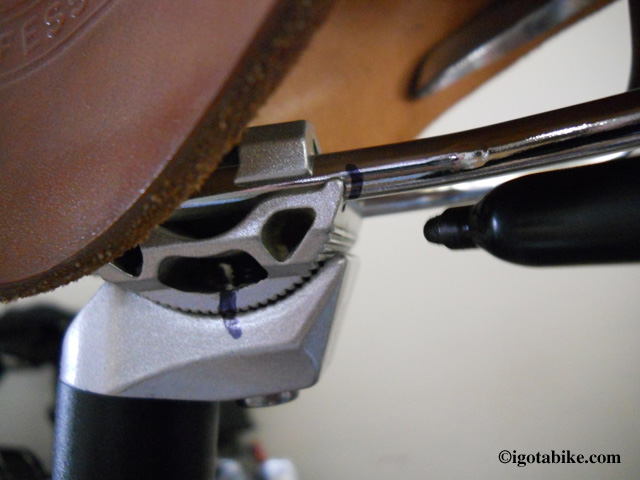
Before I removed my Brooks for Proofiding, I carefully marked the position of the saddle for tilt and fore/aft positions.
For what it’s worth, Brooks says that their Proofide is the only substance that should be used to treat your Brooks saddle.
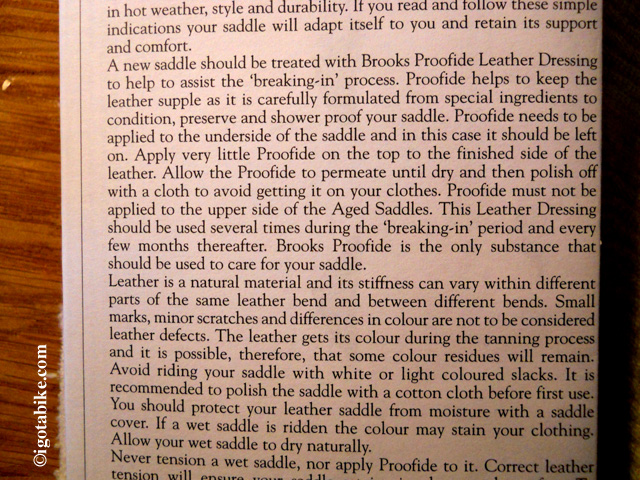
The Brooks manual that came with my saddle describes the Proofide process. This is the procedure that I followed.
The documentation that came with the saddle said to apply the Proofide to the UNDERside of the saddle and to leave it on. I applied the Proofide with my fingers, a small cloth and a Q-Tip to get behind the frame parts and up into the nose of the saddle. It really soaked right in and darkened the leather. I paid special attention to get the edges of the saddle and the inside of the rivets. As much as the Proofide soaks in, a little bit goes a long way and I barely made a dent in the tiny 25 gram (0.9 oz.) tin.
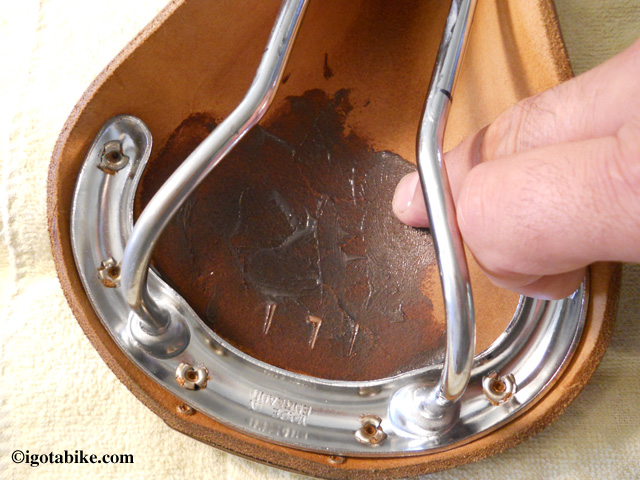
I started with the underside of my Brooks saddle, using my fingers to Proofide the large open areas. The Proofide really soaks in on the un-tanned underside and really darkened the leather. The color change of the top side was not so dramatic.
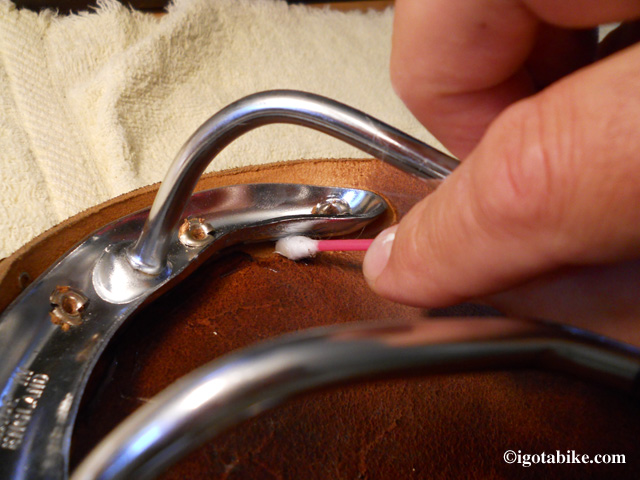
I used a rag and a Q-Tip to get the Proofide into all the nooks and crannies around and under all of the frame components. I paid special attention to the areas around and in the middle of the rivets.
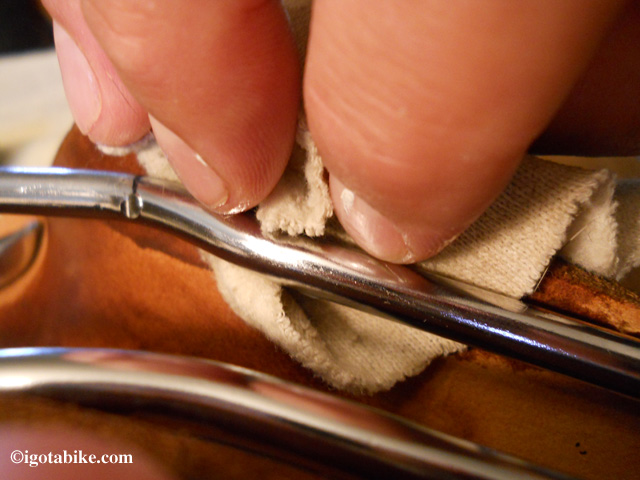
Using a small soft cloth, I was able to Proofide up and under the saddle rails as well as all the way up into the nose of the saddle, under the tensioning mechanism. Don't forget to get the edges!
The manual also said to apply a little Proofide to the top of the saddle as well. It did not soak in as much, like it did on the bottom. I left it on for a few minutes until it started to dry, then I polished it with a soft cloth, per the instructions. It did darken the leather a bit, but it looks really good!
NOTE: The instructions make a point of saying NOT to Proofide the top of an AGED Brooks Saddle!
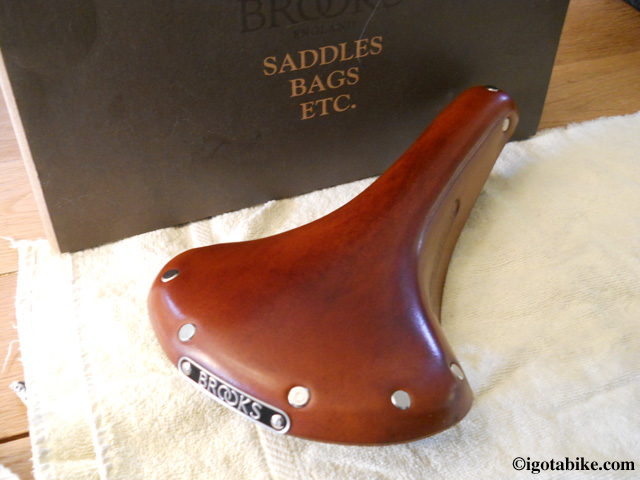
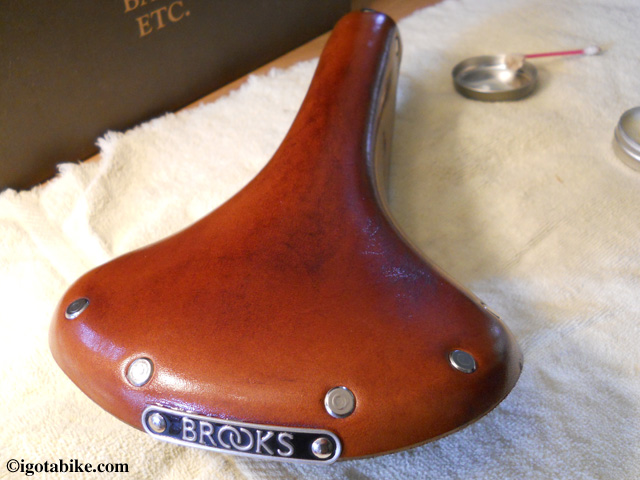
My Brooks Professional saddle, Proofided top and bottom and polished. It did darken somewhat, but the difference was not that drastic and it actually looks nicer, in my opinion.
I can’t wait to take it for a ride and see if the break-in process begins to change or accelerate. Stay tuned. I will update as the miles accumulate.
Update: June 2013. I now have approximately 1600 to 2000 miles on my Brooks Professional. It is JUST NOW starting to break-in! Wow, at this rate, this saddle will last me for the rest of my life! It has started to conform a bit to the contours of my posterior and it is ever so slightly a bit softer. Not a lot, but noticeable. It has also started to darken. Looks nice.
So far, this is the first and only Proofide treatment for this saddle.
On this past tour, I did ride it in some rain. It’s inevitable. I tried to keep a plastic bag on it when I wasn’t sitting on it, but it did get wet (not SOAKED) and is no worse for the wear. I just let it dry out naturally. I mean, you buy leather work boots because they are tough and can withstand the elements, right?
By the way, I keep a plastic grocery bag shoved up under the saddle between the frame rails. That way, I always have rain protection for it with me, just in case. I also cover it when I lock up my bike in public, just to keep it out of sight, out of mind, you know? I usually also run a cable type lock through the saddle rails and around the frame, just to be sure.
